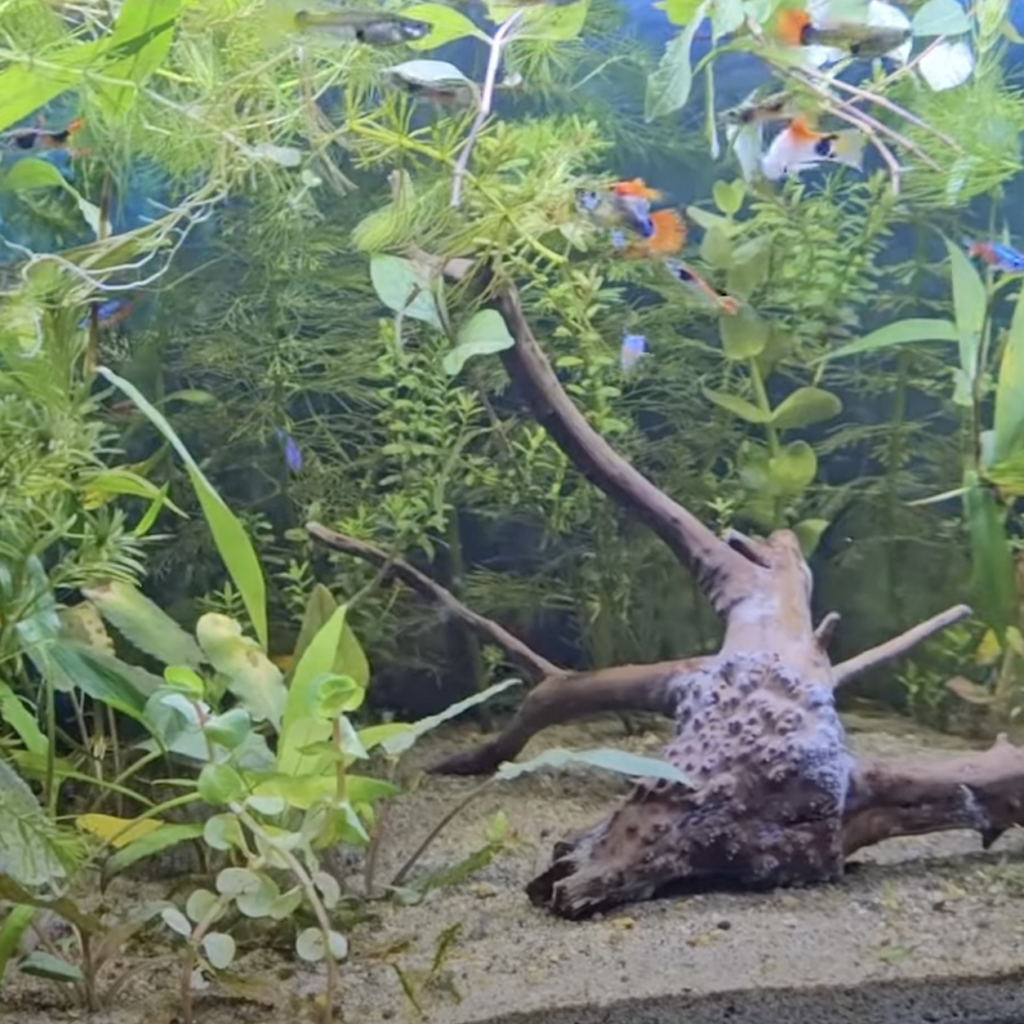
Algae friend or foe

Algae in Your Aquarium: Secret Hero or Silent Villain?

Algae—most fishkeepers either love it or hate it. While some types of algae can become nuisances, others play an essential role in maintaining a healthy, natural aquarium environment. Surprisingly, algae are often misunderstood, and when managed properly, they can become your aquarium’s greatest ally.

In this guide, we’ll explore:

  • The difference between “good” and “bad” algae.
  • Common types of algae you may encounter.
  • How to control unwanted algae naturally.
  • Why algae are important for your fish tank ecosystem.

Why Algae Isn’t Always Bad

Algae are natural, aquatic plants that form the foundation of many ecosystems. They serve as a food source for various organisms, oxygenate the water, and help control nutrients like nitrates. In nature, algae ensure balance—so why wouldn’t we embrace their benefits in our aquariums?

Sure, algae can sometimes overgrow, but in most cases, it’s a sign of a healthy tank. When balanced, algae can support:

  • Snails, shrimp, and daphnia that naturally graze on algae.
  • A natural food source for small fish and fry.
  • Microorganisms that sustain a thriving ecosystem.

Good Algae vs. Bad Algae

Not all algae are created equal. Here’s a breakdown of “good” algae that benefit your tank versus “bad” algae that you should manage carefully.

✅ Good Algae

1. Green Film Algae

Appearance: A thin, light green layer on glass, decorations, or substrate.
Benefit: It’s rich in lipids and serves as a food source for shrimp, snails, and microfauna.
Action: No need to panic—scrape it off the front glass, but leave it on other surfaces for your tank inhabitants.

2. Green Water

Appearance: Water turns cloudy green, like pea soup.
Benefit: Indicates a healthy, nutrient-rich environment perfect for daphnia and other micro-critters.
Action: Introduce daphnia or small filter feeders to consume the algae naturally.

3. Spot Algae

Appearance: Tiny green spots that grow on glass, rocks, and hardscape.
Benefit: Provides nutrition for snails and other grazers.
Action: Scrape it off the front glass but leave it elsewhere for tank health.

❌ Bad Algae

1. Cyanobacteria (Blue-Green Algae)

Appearance: Slimy, greenish-blue mats that look like jelly.
Problem: It spreads rapidly and releases toxins that harm fish and plants.
Solution:

  • Physically remove as much as possible.
  • Reduce nitrates and excess nutrients by performing water changes.
  • Increase water circulation and light to discourage growth.

2. Matting Algae (Slippery Algae)

Appearance: Dense, green mats that block fish and plants.
Problem: Prevents fish movement and suffocates plants.
Solution: Simply scoop it out—matting algae is easy to remove in sheets.

3. Hair Algae

Appearance: Long, green threads that tangle around plants and décor.
Problem: Suffocates plants by blocking light.
Solution: Remove by hand, and ensure proper nutrient and light balance.


How to Manage Algae Naturally

While some algae are beneficial, overgrowth is an indicator of imbalance. Here are natural strategies to keep algae under control:

  • Balance Nutrients: Perform regular water changes and avoid overfeeding your fish.
  • Introduce Algae Eaters:
    • Snails: Nerite snails, mystery snails, and Malaysian trumpet snails.
    • Shrimp: Amano shrimp and cherry shrimp.
    • Fish: Otocinclus catfish, Siamese algae eaters, and bristlenose plecos.
  • Adjust Light Duration: Reduce light to 6-8 hours per day.
  • Increase Water Flow: Use powerheads or adjust filters to improve circulation.
  • Add Live Plants: Fast-growing plants like hornwort and water wisteria outcompete algae for nutrients.

Unique Algae Types You May Encounter

1. Golden Algae

Appearance: Yellow-golden mats, common in ponds.
Benefit: Used in fish food and pigments.

2. Birdbath Algae

Appearance: Orange slime growing on substrate.
Benefit: Nutritious and rich in antioxidants for fish.


Embrace Algae as Part of Your Natural Ecosystem

The key takeaway? Algae is your friend—not your enemy. Most algae types contribute to a balanced ecosystem, providing food, oxygen, and natural beauty to your aquarium. By identifying and managing algae properly, you can create a thriving, low-maintenance tank that mimics nature.

Remember:

  • Good algae help your tank.
  • Bad algae require management but are easy to remove with persistence.

If you embrace algae as part of your natural aquarium setup, you’ll find it enhances—not detracts—from the beauty of your planted tank.

Happy fishkeeping! 🌿🐟


We’d love to hear your experience with algae in your tanks! Share your tips, tricks, or questions in the comments below. For more natural aquarium tips and guides, explore NaturalFishTank.com!

Ultimate fish tank light

The Ultimate Guide to Planted Aquarium Lighting: Everything You Wish You Knew

When it comes to maintaining a thriving planted aquarium, lighting plays a pivotal role. It’s not just about making your tank look great; proper lighting fuels plant growth, enhances coloration, and maintains the delicate balance between plants and algae. Whether you’re just starting with your first planted tank or looking to optimize your setup, this guide combines practical beginner tips and deeper insights to help you master aquarium lighting.


Why Is Aquarium Lighting So Important?

In the world of Natural Fish Tank, lighting is often called the accelerator of your tank. It drives photosynthesis, which keeps your plants healthy and vibrant. However, too much or too little light can throw the system off balance, leading to poor plant growth or algae overgrowth.

Here’s what happens when lighting is misaligned:

  • Too Much Light: Without proper CO2 or nutrients, high light intensity fuels algae growth, turning your tank into a green mess.
  • Too Little Light: Your plants won’t photosynthesize effectively, leading to poor growth and increased algae.

Balancing your lighting and nutrients is key to a beautiful, thriving aquarium.


The Basics: 5 Things I Wish I Knew About Planted Aquarium Lighting

1. Invest in a Quality Planted Tank LED

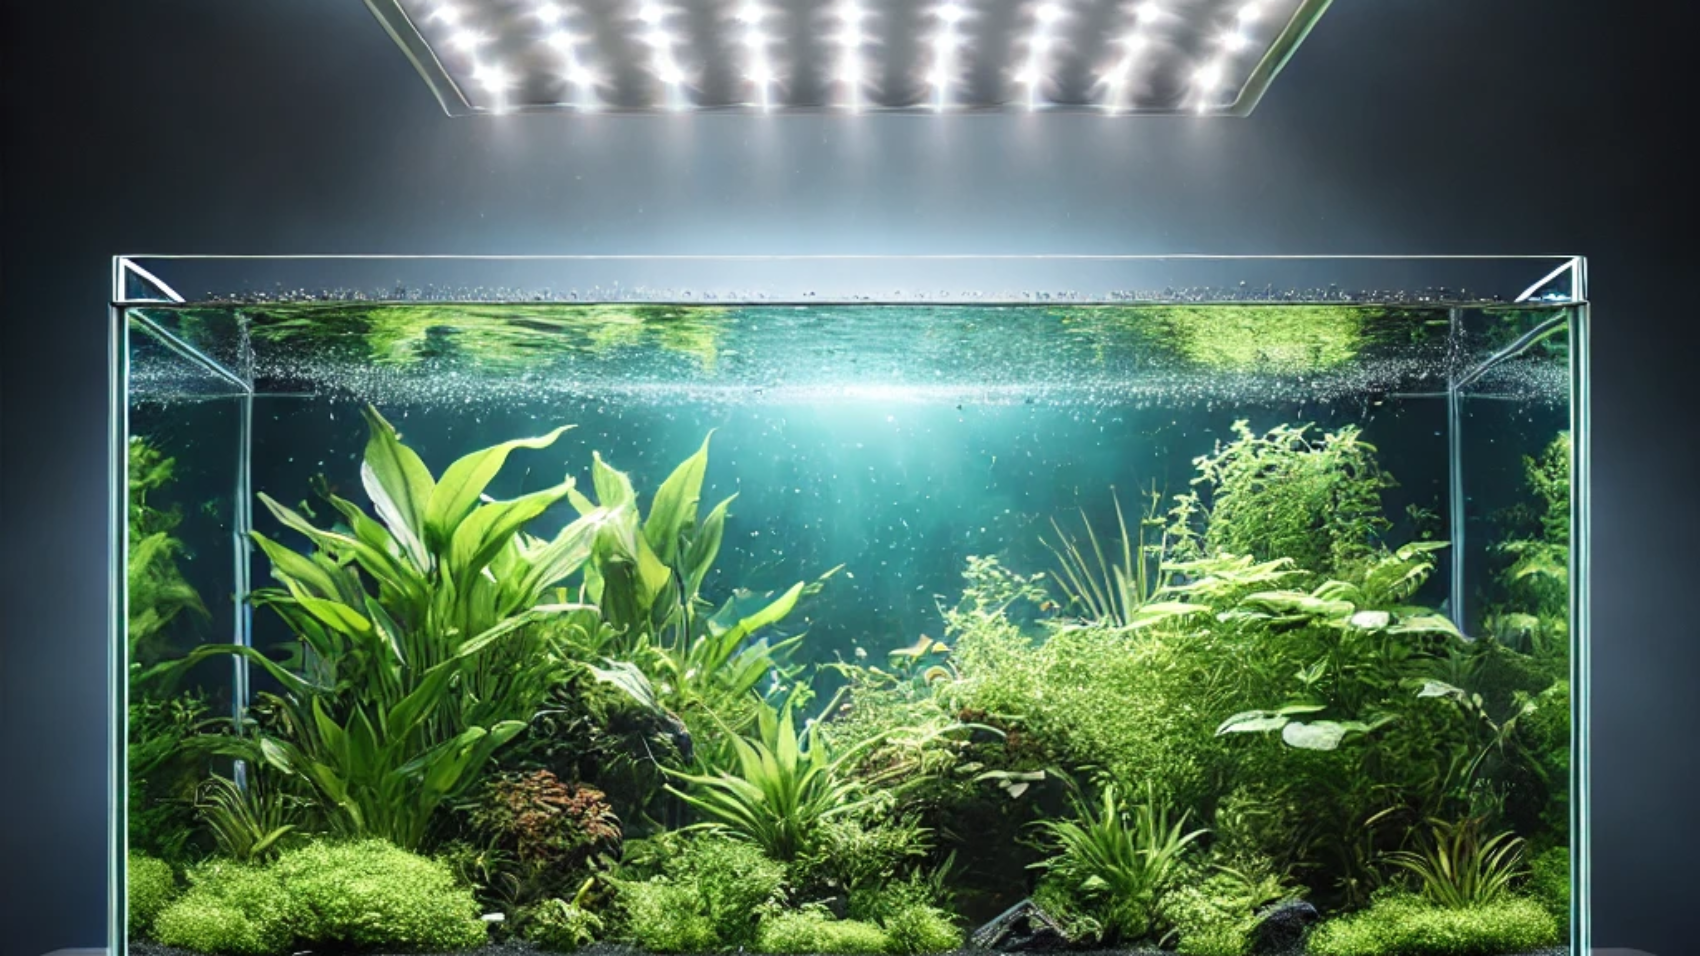
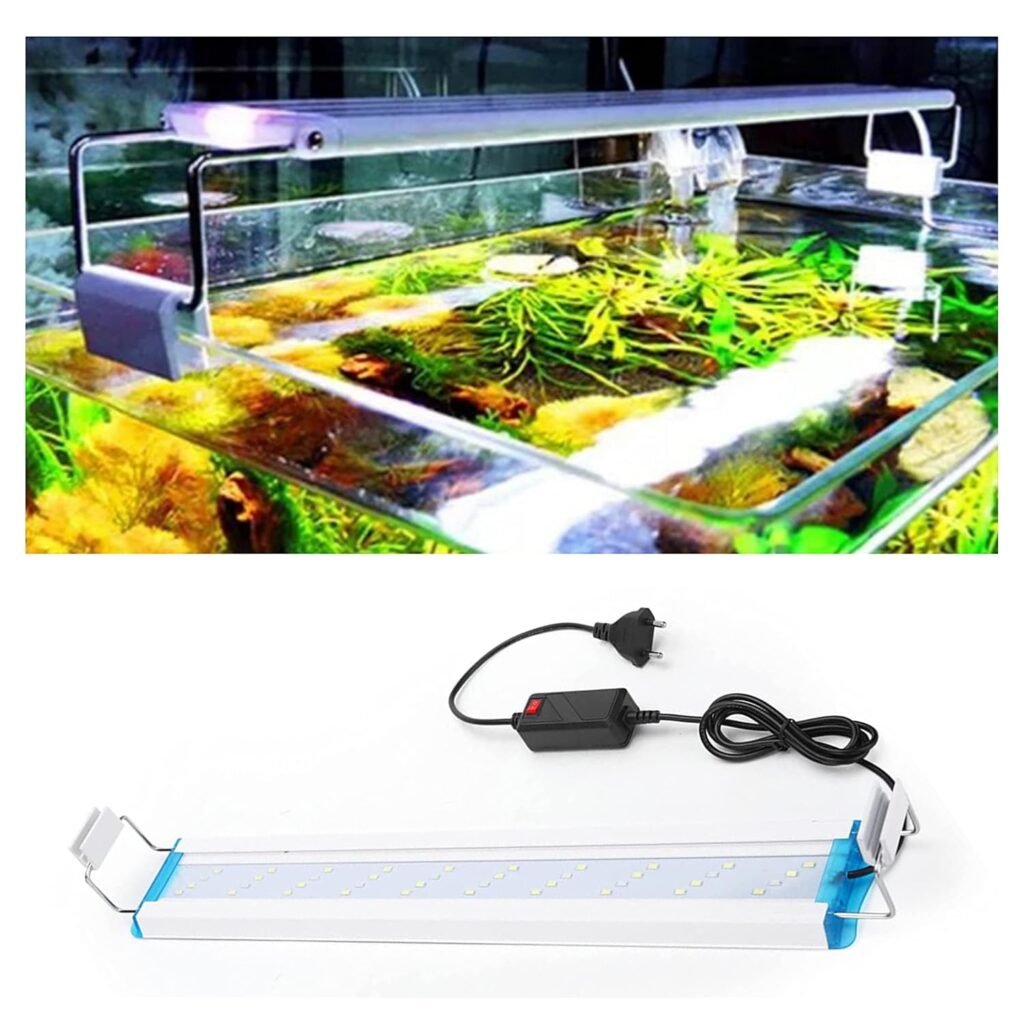
Yes, it’s tempting to use the default light that comes with your aquarium or a cheap alternative, but they often lack the intensity or spectrum needed for plant growth. High-quality LED lights, are specifically designed for planted tanks. They’re easy to use and provide the full light spectrum your plants need.

  • Ensure the light covers the entire tank. Some lights have poor spread, leaving the edges of your tank shaded.
  • For larger aquariums, consider using multiple lights or placing high-light plants in the center and low-light plants on the edges.

Petzlifeworld LA Series Ultra Thin Grass Frame Aquarium Light (LA 60 | 18W | 60-70CM) – https://amzn.to/3SFTUGG

2. Understand Lighting Strength (PAR Ratings)

Lighting strength is often measured in PAR (Photosynthetically Active Radiation), which quantifies the light intensity plants can actually use for photosynthesis.

General PAR Guidelines:

  • Low-light plants: 15-30 micromoles.
  • Medium-light plants: 35-50 micromoles.
  • High-light plants: 50+ micromoles (with CO2 injection to avoid algae).

Some lights list their PAR ratings, but if they don’t, you can find user-measured data online or rent a PAR meter from your local fish club.

3. Use a Timer if needed

A consistent lighting schedule is essential for plant health and algae control. Using a timer ensures your plants get the light they need without overexposure.

Suggested Lighting Duration: 8 – 12 hours or natural fish tanks

You can even split your lighting into two sessions (e.g., morning and evening) to match your viewing habits while minimizing algae risk. Running your light continuously will mimic nature.

4. Adjust Lighting Based on Your Tank

Not all tanks are the same. Deeper tanks require stronger lights to ensure sufficient light reaches the bottom, while shallow tanks can thrive with lower-intensity lights. Dimmable LED lights provide flexibility, allowing you to fine-tune brightness based on your plants’ needs.

5. Start with Lower Light Levels

When introducing new plants, start with reduced light intensity. Plants often go through an acclimation period where their growth slows as they adjust to the new environment. Too much light during this phase can fuel algae growth.

Pro Tip:

  • Use a timer to start with 6 hours per day and gradually increase to 8+ hours as plants stabilize.
  • For dimmable lights, start at 50% intensity for taller tanks or 25-35% for shorter tanks, then slowly increase over a few weeks.

Types of Aquarium Lighting: Why LEDs Dominate

For decades, aquariums relied on incandescent, fluorescent, and metal halide lights. Today, LED lighting is the gold standard for planted tanks. Here’s why:

  • Energy Efficiency: LEDs provide the highest lumens per watt, saving energy and reducing heat output.
  • Longevity: LEDs last significantly longer than traditional lights, making them cost-effective.
  • Optimized Spectrum: LED lights are tailored to deliver the wavelengths plants need, particularly in the 400-700 nanometer range (red and blue light).
  • Even Light Spread: LED fixtures provide even coverage across the tank.

Setting Up Your Light: Tips for Success

  • Add a Timer: Consistency is key. Use mechanical timers or smart plugs for precise control.
  • Use a Dimmer: If your light doesn’t have one, consider an external dimmer to fine-tune intensity.
  • Experiment and Observe: Start with lower intensity and duration, then adjust based on plant growth and algae levels.

Final Thoughts: Mastering the Art of Aquarium Lighting

Lighting is both an art and a science. By understanding PAR, choosing the right equipment, and maintaining a consistent schedule, you can create a thriving aquascape that enhances the beauty of your home.

Take the time to experiment, find what works for your unique setup, and enjoy the journey. At NaturalFishTank.com, we’re here to help you every step of the way. Explore our resources, check out trusted products, and build the planted tank of your dreams!

Happy aquascaping! 🌿🐟

Top 10 Aquarium Fish Blog

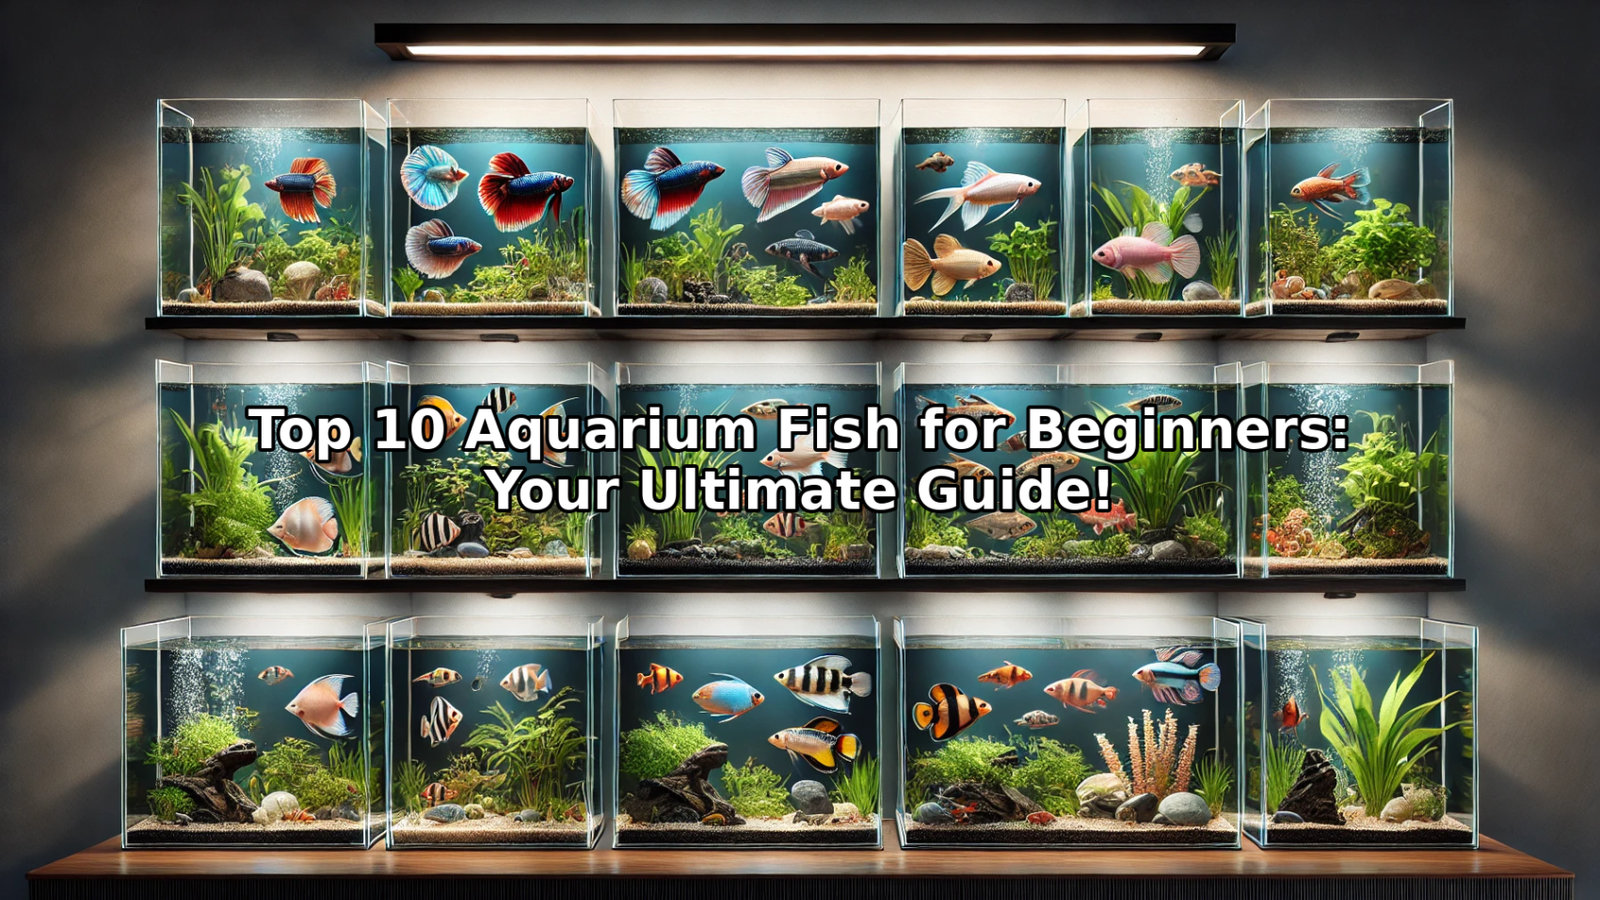
Top 10 Aquarium Fish for Beginners: Your Ultimate Guide!

Welcome to NaturalFishTank.com, your go-to destination for all things fishkeeping! If you’re here, you’re either a passionate fish enthusiast or a beginner researching the best fish to start your aquarium journey. Either way, we’re thrilled to have you here. In this guide, we’ll share the Top 10 Aquarium Fish for Beginners—perfect for your first tank!


1. Betta Fish

Golden Betafish

Betta fish are stunning, personable, and easy to care for. Despite their reputation, they need more than a small bowl or vase.

  • Tank Size: Minimum 5 gallons
  • Water Parameters: pH ~7; Temperature 78–80°F
  • Care Tips: Include a heater, filter, and light. Betta fish thrive in a peaceful environment and can cohabit with select tank mates.

Betta fish are not just ornaments—they’re active, engaging pets. Give them the proper care, and they’ll reward you with beauty and charm.


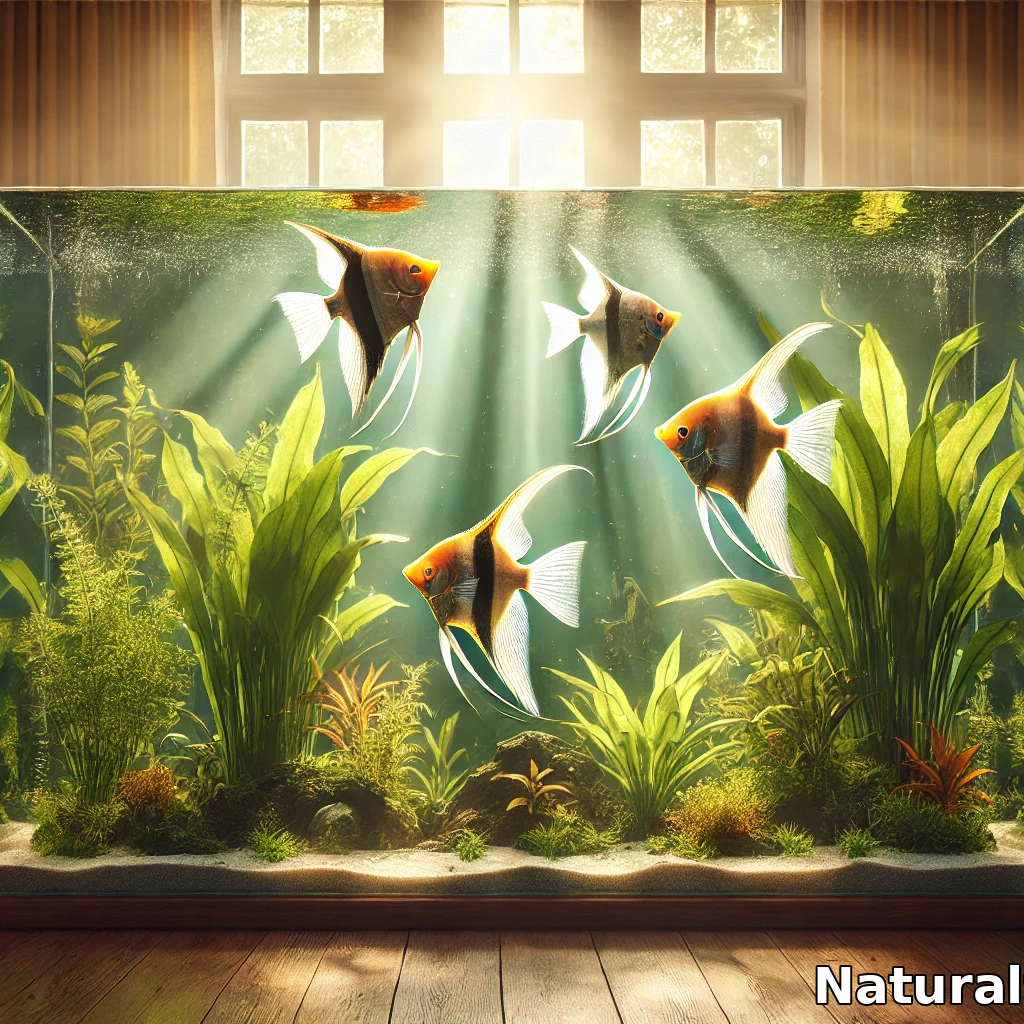
2. Angelfish

Angelfish are elegant cichlids with unique personalities. They require slightly larger tanks and careful selection of tank mates.

  • Tank Size: Minimum 29 gallons
  • Water Parameters: pH ~7; Temperature 78–82°F
  • Care Tips: They are easy to breed and can thrive solo or in species-only tanks.

Their graceful movements make Angelfish a standout addition to any aquarium.


3. Guppies

Guppies are lively, colorful, and perfect for beginners. They adapt to various water conditions and are prolific breeders.

  • Tank Size: 10–20 gallons
  • Water Parameters: pH 7–7.8; Temperature 76–82°F
  • Care Tips: Provide a filter and heater for optimal health.

Their constant activity and vibrant colors bring endless joy to fishkeepers.


4. Tetras

Tetras are schooling fish available in a variety of colors and sizes. Watching them swim in unison is mesmerizing.

  • Tank Size: 10–20 gallons
  • Water Parameters: pH ~7; Temperature 74–78°F
  • Care Tips: Keep them in groups of six or more for best results.

Popular varieties include Neon Tetras and Cardinal Tetras. They’re hardy and thrive with proper care.


5. Platies

Platies are active, colorful, and beginner-friendly. They’re livebearers, so expect babies if conditions are right!

  • Tank Size: 10–20 gallons
  • Water Parameters: pH 7–8; Temperature 72–78°F
  • Care Tips: Provide a clean, filtered tank to keep them thriving.

Their variety in colors and playful behavior make them a delight for first-time fishkeepers.


6. Mollies

Mollies share many similarities with Platies but prefer slightly warmer water.

  • Tank Size: 10–20 gallons
  • Water Parameters: pH 7–8; Temperature 78–82°F
  • Care Tips: Despite their “brackish water” label, most mollies in pet stores are bred in freshwater.

They’re prolific breeders and a great choice for beginner aquarists.


7. Corydoras Catfish

Corydoras are adorable bottom-dwelling fish that help keep your tank clean.

  • Tank Size: 20–29 gallons
  • Water Parameters: pH 7–8; Temperature 72–82°F
  • Care Tips: Keep them in groups of three or more for their social well-being.

Their constant scavenging and playful nature make them a must-have in community tanks.


8. Dwarf Gouramis

Dwarf Gouramis are small, brightly colored fish that are easy to care for.

  • Tank Size: 10–20 gallons
  • Water Parameters: pH 7–8; Temperature 75–78°F
  • Care Tips: They’re related to Bettas and can breathe air, but still require good filtration.

Their vibrant appearance and peaceful demeanor make them beginner-friendly.


9. Danios

Danios are hardy, energetic fish that tolerate a wide range of conditions.

  • Tank Size: 20 gallons
  • Water Parameters: pH 6.5–7; Temperature 70–78°F
  • Care Tips: Keep them in schools of six or more for their well-being.

Their constant activity and resilience make them ideal for new fishkeepers.


10. Mbuna (African Cichlids)

Mbuna are colorful, active fish that attract beginners with their striking looks.

  • Tank Size: 75 gallons (larger tanks recommended)
  • Water Parameters: pH 7.6–8; Temperature 80–82°F
  • Care Tips: Plan for aggressive behavior and invest in a good filtration system.

While they require a bit more investment, Mbunas can be a rewarding experience for those ready to dive into the hobby.


Final Thoughts

Starting your fishkeeping journey is exciting, and the fish on this list are perfect for beginners. From Betta fish to Mbunas, there’s something here for everyone. Remember, proper care and a suitable environment are essential to ensure your fish thrive.

Do you have a favorite beginner fish to add to this list? Let us know in the comments below. And if you found this guide helpful, don’t forget to check back for more fishkeeping tips on NaturalFishTank.com!

Happy fishkeeping! 🐠

20241205_111530

5 Easy Houseplants That Filter Your Aquarium

Aquariums are not just homes for fish—they can also be thriving ecosystems that benefit from the inclusion of houseplants. In this blog, we’ll explore five easy-to-grow houseplants that can help filter your aquarium, reduce nitrates, and make your setup healthier and more vibrant.


Why Use Houseplants in Your Aquarium?

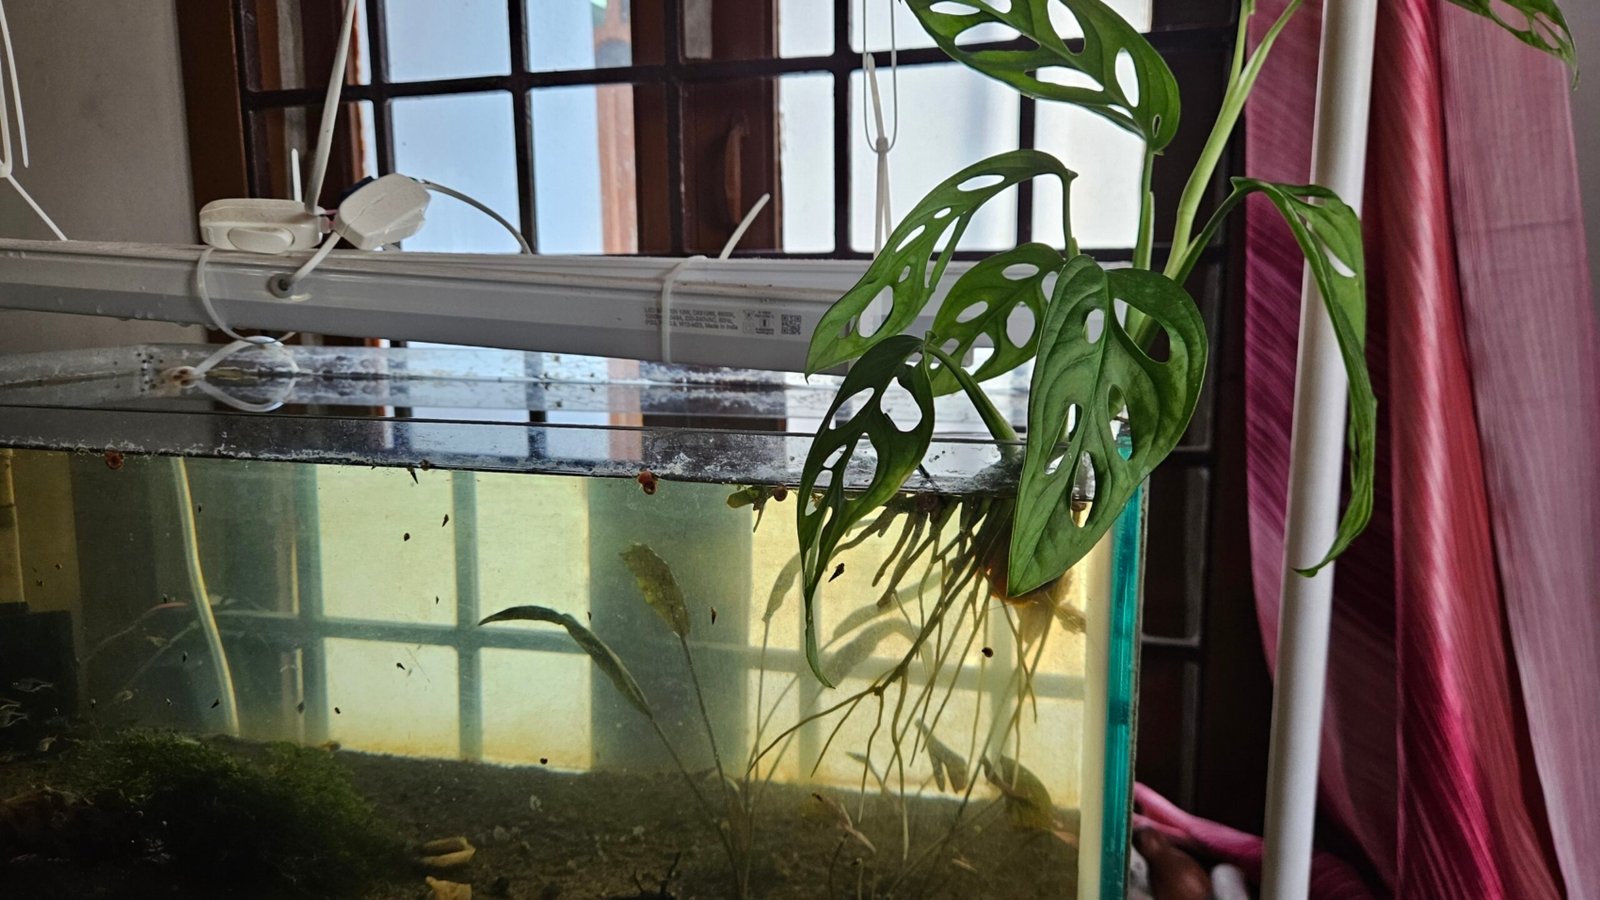
In an aquarium, fish produce waste that eventually breaks down into ammonia, nitrites, and nitrates. While aquatic plants inside the tank can help remove nitrates, houseplants with their roots in the water are even more effective. Their robust root systems extract nutrients directly from the water, making them excellent natural filters. Plus, they’re easy to care for, readily available, and add a beautiful aesthetic to your aquarium.

I’ve personally been incorporating houseplants into my aquariums after visiting a friend’s fish tanks, and the difference is astounding. Tanks with houseplants thrive more than those without, as they create a lively, balanced ecosystem.


How to Add Houseplants to Your Aquarium

  1. Purchase your plant from a local shop or garden center.
  2. Remove all soil from the roots by gently washing them to prevent contamination.
  3. Place the bare roots into the tank water, ensuring they’re submerged but the leaves remain above water.
  4. Position the plant near a light source—daylight LED lights work perfectly.

Tip: You can also start with cuttings! Place them in water, let them root, and watch them grow. This method is perfect for beginners and requires minimal effort.


Top 5 Houseplants for Filtering Aquariums

1. Philodendrons

Philodendrons are a versatile group of houseplants that thrive in aquariums. Their large, robust root systems make them highly efficient at removing nitrates.

  • Top Varieties: Philodendron New Yorker, Philodendron Brazil.
  • Care Tips:
    • Train them to climb supports or drape over the edges of the tank for a beautiful cascading effect.
    • Ensure the roots are submerged in water while the leaves remain dry.
    • Philodendrons prefer indirect light but can adapt to low-light conditions.

Additional Tip: Avoid overwatering the plant before placing it in the aquarium, as excess moisture can cause root rot.

2. Pothos

Pothos is one of the most popular houseplants for aquariums due to its low maintenance and rapid growth.

  • Top Varieties: Golden Pothos, Neon Pothos, Marble Queen.
  • Care Tips:
    • Allow the roots to establish in the water before expecting vigorous growth.
    • Trim regularly to encourage bushy growth and prevent it from overtaking the tank.
    • Pothos thrives in indirect sunlight and tolerates low light.

Additional Tip: Mix pothos with philodendrons in the same tank for a varied and lush look.

3. Spidergrass (Chlorophytum)

Spidergrass, also known as the spider plant, is incredibly easy to grow and maintain.

  • Key Features: Produces runners and baby plants, making it easy to propagate.
  • Care Tips:
    • Simply place the roots in water, and it will flourish.
    • Spidergrass can tolerate a wide range of conditions, making it ideal for beginners.
    • Trim the baby plants (pups) and propagate them in other tanks or pots.

Additional Tip: Use spidergrass as a bushy filler plant in tanks with sparse greenery for added volume.

4. Peace Lilies

Peace lilies (Spathiphyllum) are elegant plants that not only filter water but also add a touch of beauty with their flowers.

  • Care Tips:
    • Use larger plants for better results, as they grow faster and absorb more nitrates.
    • Keep the roots submerged in the aquarium and the leaves dry to prevent rot.
    • Peace lilies prefer low to medium light, making them ideal for indoor tanks.

Additional Tip: Peace lilies are great for aesthetic appeal—place them in tanks near seating areas to showcase their beautiful flowers.

5. Monsteras

Monsteras, including the Swiss Cheese Plant (Monstera adansonii), are another excellent option for aquarium setups.

  • Care Tips:
    • Use smaller varieties to avoid overcrowding the tank.
    • Place them near bright, indirect light for optimal growth.
    • Trim large leaves to maintain a balanced look in smaller tanks.

Additional Tip: Monsteras are excellent for larger tanks, where their dramatic foliage adds depth and texture.


Bonus Plant: Syngoniums

Syngoniums, also known as arrowhead plants, are easy to grow and widely available. You can propagate them from cuttings, and they root quickly when placed in water.

  • Care Tips:
    • Remove all soil from the roots before placing them in water.
    • Rotate plants occasionally to ensure even growth.
    • Trim regularly to prevent overgrowth.

Additional Tip: Syngoniums come in many varieties, including vibrant variegated types, which add a pop of color to your aquarium.


Why Use Houseplants in Aquariums?

  • Natural Filtration: Houseplants significantly reduce nitrates, improving water quality.
  • Enhanced Aesthetics: They create a lush, vibrant look above and around the tank.
  • Low Maintenance: These plants are hardy and require minimal care.
  • Eco-Friendly: No need for chemical filtration—nature does the work for you.

Final Thoughts

Houseplants are a fantastic addition to any aquarium, helping to maintain water quality while enhancing the overall beauty of your setup. Whether you’re a beginner or a seasoned aquarist, these plants are easy to grow and incredibly rewarding.

If you’ve been hesitant to try this, I encourage you to start with a pothos or philodendron—they’re nearly foolproof and highly effective. Thank you for reading, and I hope this guide inspires you to incorporate houseplants into your aquarium! Let me know your experiences in the comments below.

Happy fishkeeping! 🐟🌿

Betta_Fry_Feeding_Guide_Featured_Image_Two_Lines_16_9

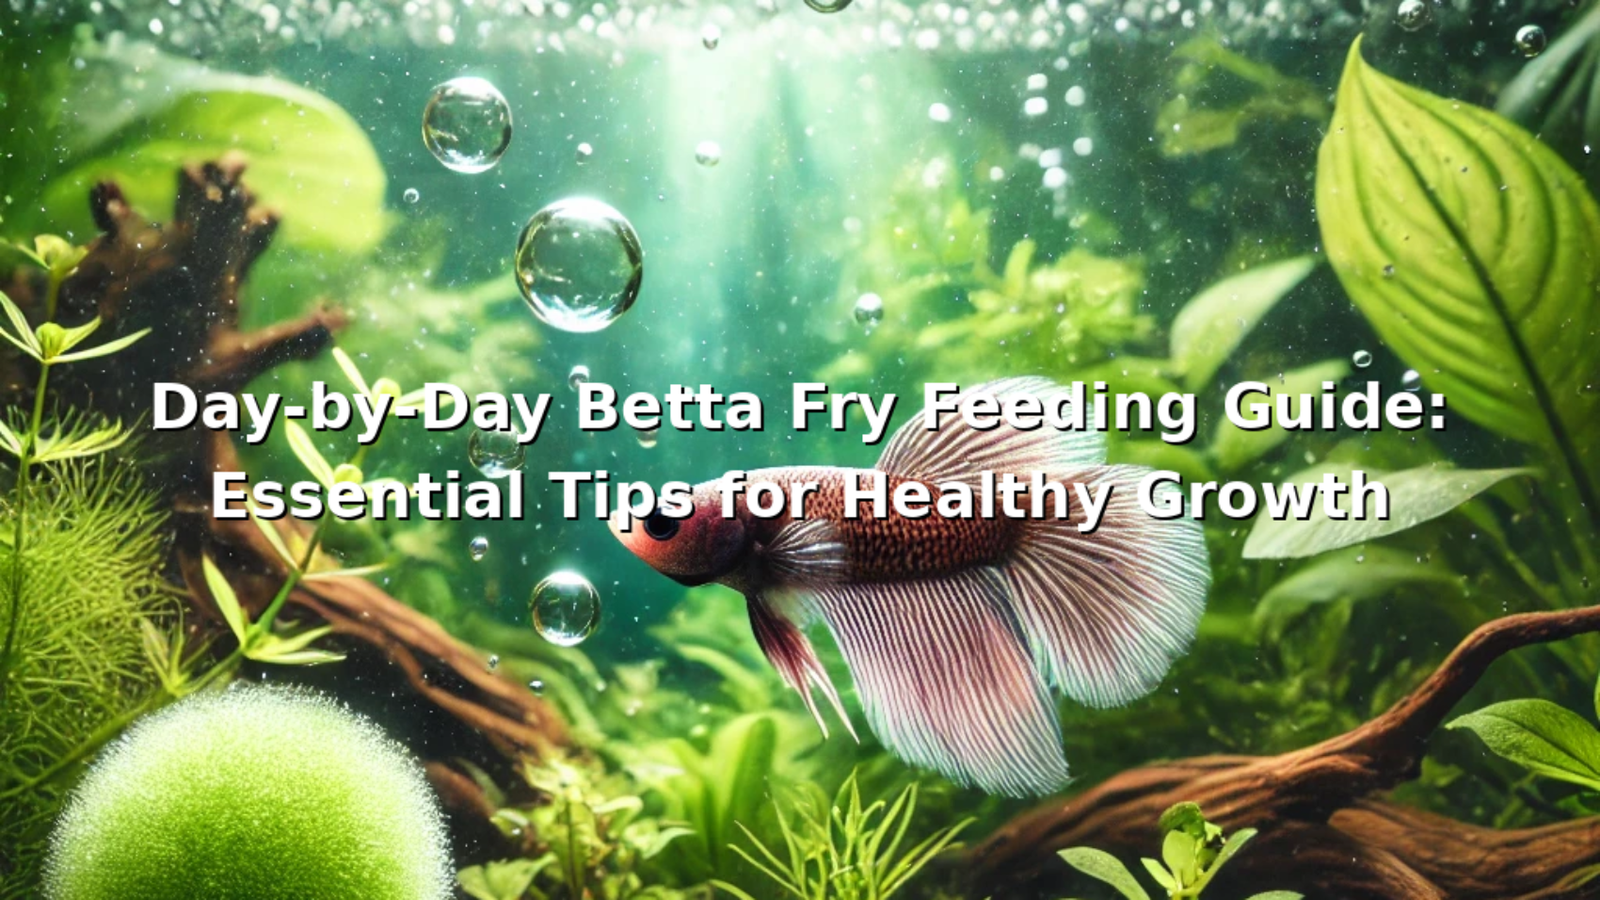
Day-by-Day Betta Fry Feeding Guide: Essential Tips for Healthy Growth

Hatching betta fry is an exciting milestone, but many people wonder how to properly feed these tiny babies to help them grow healthy and strong. The first few feeds are crucial, and choosing the right food is essential to support their development. In this blog post, I’ll walk you through a comprehensive day-by-day guide on feeding betta fry, explaining the different feeding options and what works best at each stage to ensure healthy growth and vibrant fish.

Day 1 – First Feed: What to Feed Betta Fry After Hatching

After hatching, betta fry are very small and fragile. Their first feed is incredibly important, as it can set the stage for healthy growth. Many betta breeders use vinegar eels as the first feed, which are small enough for fry to consume. If you don’t have vinegar eels, an alternative is to culture baby brine shrimp. However, if brine shrimp are also unavailable, you can use egg yolk as a substitute.

How to Use Egg Yolk as Betta Fry Food

If you’re wondering how to feed betta fry with egg yolk, it’s essential not to add it directly to the water. Here’s a simple, step-by-step method for preparing egg yolk:

  1. Boil an egg and separate the yolk.
  2. Mix a small piece of the yolk with water until it reaches a milky consistency.
  3. Use a cotton cloth to filter the mixture, creating a fine, smooth liquid that can be used as fry food.
  4. Take a syringe and fill it with the prepared egg yolk mixture. Gently add a drop or two into the water, making sure it mixes properly and disperses throughout the tank.

When you add the mixture to the tank, the tiny particles will slowly sink, allowing fry to eat it whether they are at the surface or at the bottom. However, keep in mind that egg yolk can cloud the water, and this can quickly lead to poor water quality, which might harm the fry. Make sure to perform partial water changes frequently to avoid ammonia build-up.

Day 7 – Feeding Betta Fry with Daphnia for Faster Growth

By day 7, betta fry are bigger and ready to eat live foods like daphnia. Daphnia is an excellent source of nutrition and is also easy to culture at home. All you need is a starter culture, some yeast, and a bucket of water. Mix yeast in the water, and in about 10 days, you’ll have a sustainable supply of daphnia. Feeding daphnia will help your fry grow faster and develop stronger immune systems. Daphnia also moves around in the tank, encouraging the fry to hunt, which is great for their development.

Day 30 – Introducing Bloodworms or Tubifex Worms for Betta Fry

Around one month of age, betta fry are ready for more nutrient-dense food, such as bloodworms or tubifex worms. If you can get your hands on live or frozen bloodworms, they provide excellent protein for growing fry. Tubifex worms are another great option but can be challenging to culture due to the amount of water required. You can keep tubifex worms in the freezer and thaw them as needed to feed the fry.

How Often to Feed Betta Fry

To ensure that betta fry receive optimal nutrition for growth, it’s important to maintain a consistent feeding schedule. Feed betta fry 3 to 4 times a day in small amounts. This frequent feeding ensures that they are getting the nutrients they need without overloading the tank with uneaten food, which could compromise water quality. It is better to feed in smaller amounts more frequently than giving a lot of food at once.

Water Maintenance Tips for Betta Fry Tanks

Maintaining good water quality is just as important as feeding. Here are some tips for maintaining water quality in a betta fry tank:

  • Frequent Water Changes: Egg yolk and other fine foods can quickly degrade water quality. Perform small, frequent water changes (around 10-20%) every 2 to 3 days to ensure that ammonia and nitrite levels stay low.
  • Use a Sponge Filter: A sponge filter is an excellent choice for a betta fry tank. It provides gentle filtration without creating a strong current, which can stress or harm the fry.
  • Monitor Water Parameters: Keep an eye on water temperature, pH, and ammonia levels. Betta fry thrive at a temperature of 78-82°F and a stable pH around 6.5 to 7.5.

Signs of Healthy Betta Fry Growth

It’s essential to monitor the growth and behavior of your betta fry to ensure they are healthy. Here are some signs of healthy fry:

  • Active Movement: Healthy betta fry should be swimming actively around the tank, exploring, and hunting for food.
  • Size Growth: Betta fry should show a noticeable increase in size each week. By day 30, they should be significantly larger and begin to develop some color.
  • Appetite: Fry with a healthy appetite are usually growing well. They should eagerly eat the food provided during feeding times.

Dealing with Common Challenges in Betta Fry Care

  • Uneaten Food: Uneaten food can be a significant issue when feeding fry. Use a turkey baster to remove excess food after feeding to help maintain good water quality.
  • Aggressive Fry: As fry grow, some may show aggressive tendencies. If you notice bullying or nipping, consider separating larger or more aggressive fry to prevent injury to others.
  • Slow Growers: Some fry may grow slower than others. These slower-growing fry may need to be separated and given extra care, such as more frequent feedings or specialized food, to help them catch up.

Final Tips for Feeding Betta Fry

  • Live Food is Best: Whenever possible, feed the fry live food. Live food keeps the fry active and provides the best nutrition for fast and healthy growth.
  • Maintain Water Quality: Feeding options like egg yolk can cause water quality to deteriorate rapidly. Perform regular water changes to ensure a healthy environment.
  • Be Patient: It takes time for fry to grow into young bettas. Ensure they have consistent feeding schedules and a clean tank to support optimal growth.

Frequently Asked Questions (FAQs) About Betta Fry Feeding

1. What is the best first food for betta fry?

The best first food for betta fry is usually vinegar eels or baby brine shrimp. If these are not available, egg yolk can be used as an alternative.

2. How often should I feed betta fry?

Betta fry should be fed 3-4 times a day to ensure they receive the nutrition they need for growth. Make sure to feed in small amounts to avoid overfeeding.

3. When can I introduce live food to betta fry?

You can start feeding live food like daphnia from day 7 onward. This helps improve their growth rate and overall health.

4. How do I keep the water clean in a betta fry tank?

Use a sponge filter, perform regular water changes, and remove uneaten food promptly. These steps will help maintain water quality and keep the fry healthy.

5. How long does it take for betta fry to grow into juveniles?

Betta fry typically take about 8 to 12 weeks to grow into juveniles. During this time, their colors will start to show, and their finnage will develop. It’s essential to maintain proper feeding schedules and good water quality during this period to support their growth.

Hope you find this information useful! Leave your comments if this worked for you and your fry are happy too!!

Top 6 affordable Monster fish for your aquarium

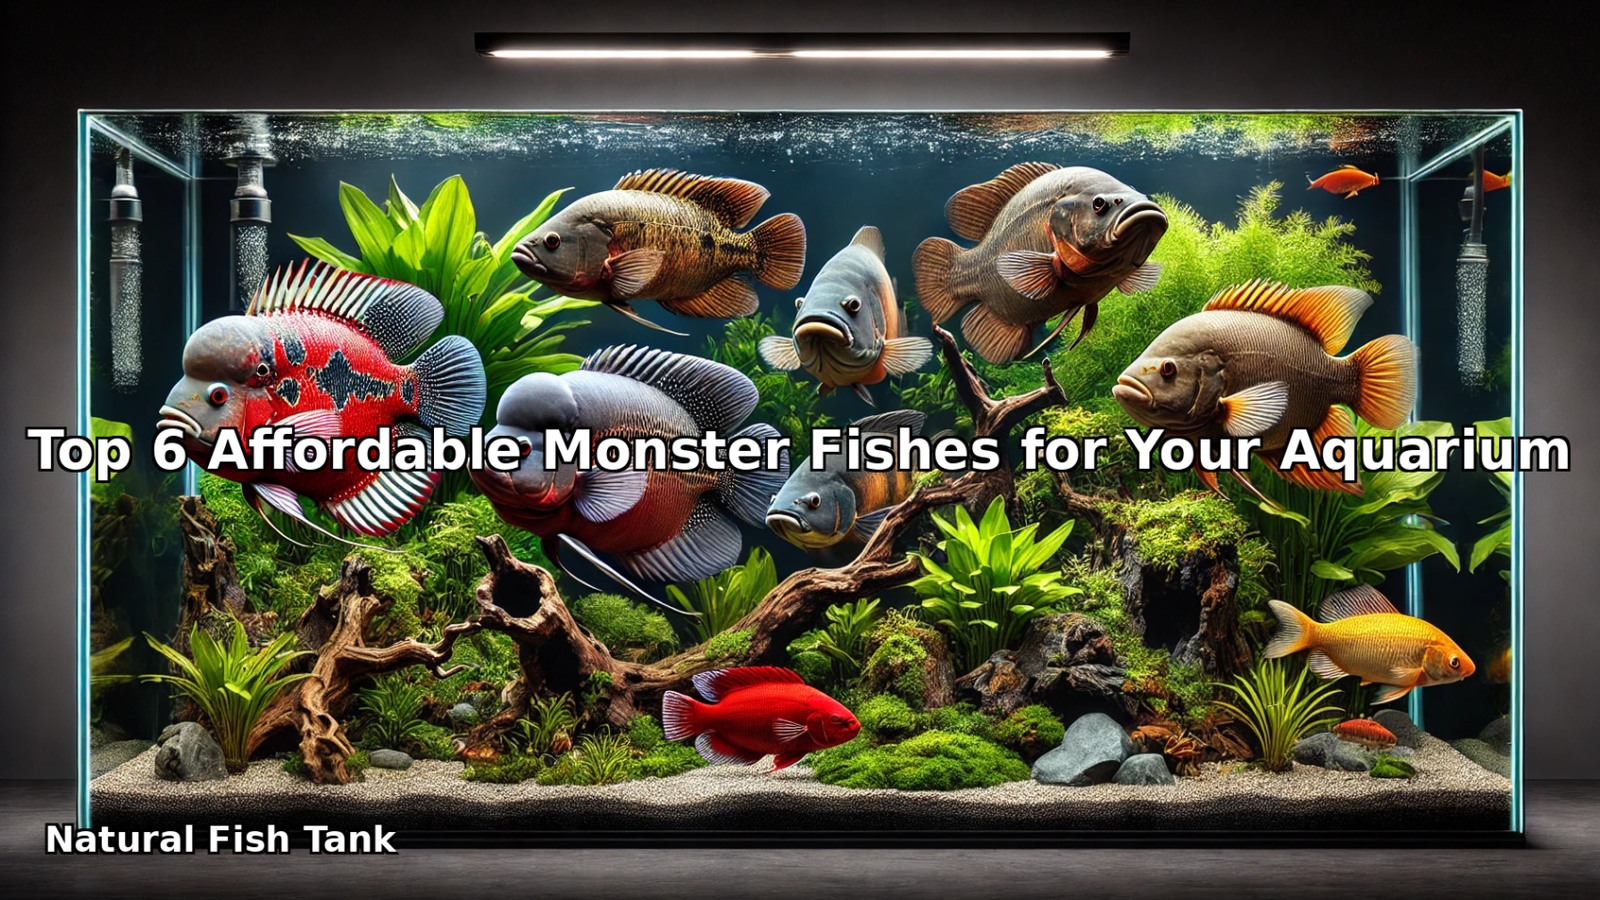
Top 6 Affordable Monster Fishes for Your Aquarium

Are you a fish enthusiast looking to add monster fishes to your aquarium without burning a hole in your pocket? Here’s a list of six affordable monster fishes, priced at price you will not believe for their size and character. These fascinating creatures not only bring life to your tank but are also budget-friendly and relatively easy to maintain. Let’s dive in!


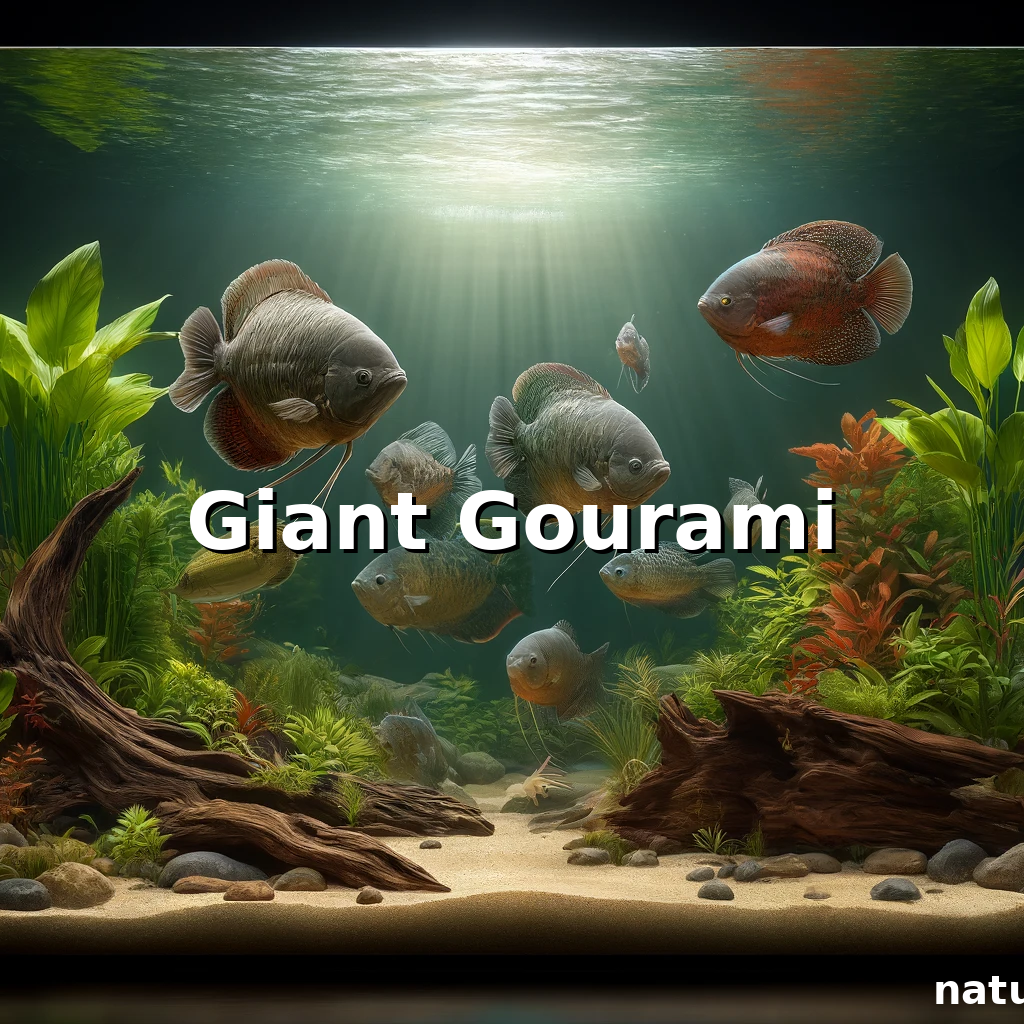
1. Giant Gourami

  • Tank Requirements: Minimum 5 feet in length and 2–2.5 feet in width.

The Giant Gourami is a striking monster fish known for its unique, statue-like face as it matures. This fish is highly interactive and can adapt to various diets, from live feed to vegetables like carrots and cabbage. It doesn’t require an air pump, as it’s an air-breather, making it a hardy and low-maintenance choice. Ensure a spacious tank to keep it comfortable.


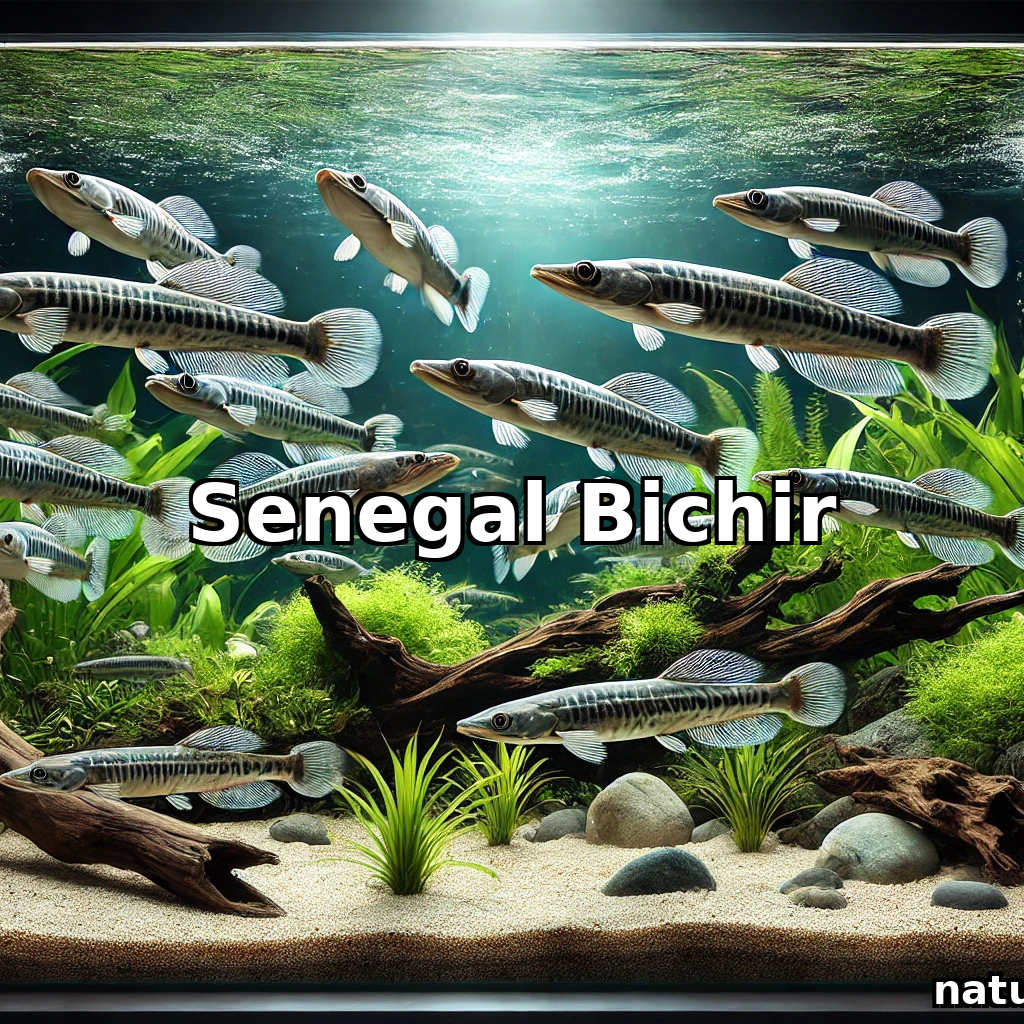
2. Senegal Bichir

  • Tank Requirements: 4 feet in length and 2 feet in width.

Also called a “dragon fish” due to its prehistoric look, the Senegal Bichir is a semi-aggressive, hardy fish. It can grow up to 2 feet and thrives on both live feed and meat. Its ability to take oxygen from the surface makes it adaptable. If you’re looking for a fish with a fascinating lineage dating back to the dinosaur era, the Senegal Bichir is an excellent choice.


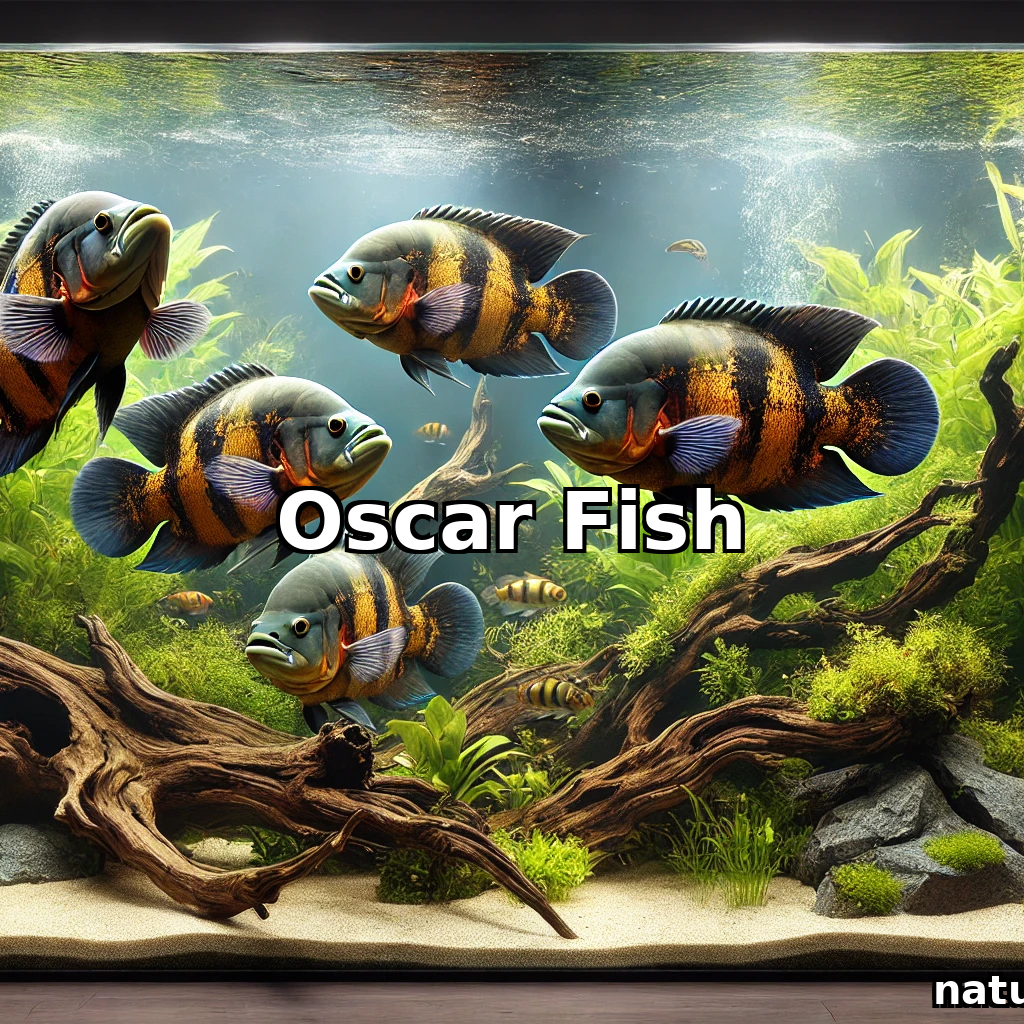
3. Oscar Fish

  • Tank Requirements: Adequate aeration is essential.

Oscars belong to the cichlid family and come in various vibrant colors like tiger, albino, and copper. They grow up to 1–2 feet and are semi-aggressive, making them great for community tanks if paired carefully. With their striking appearance and affordable price, Oscars are a favorite among aquarium hobbyists.


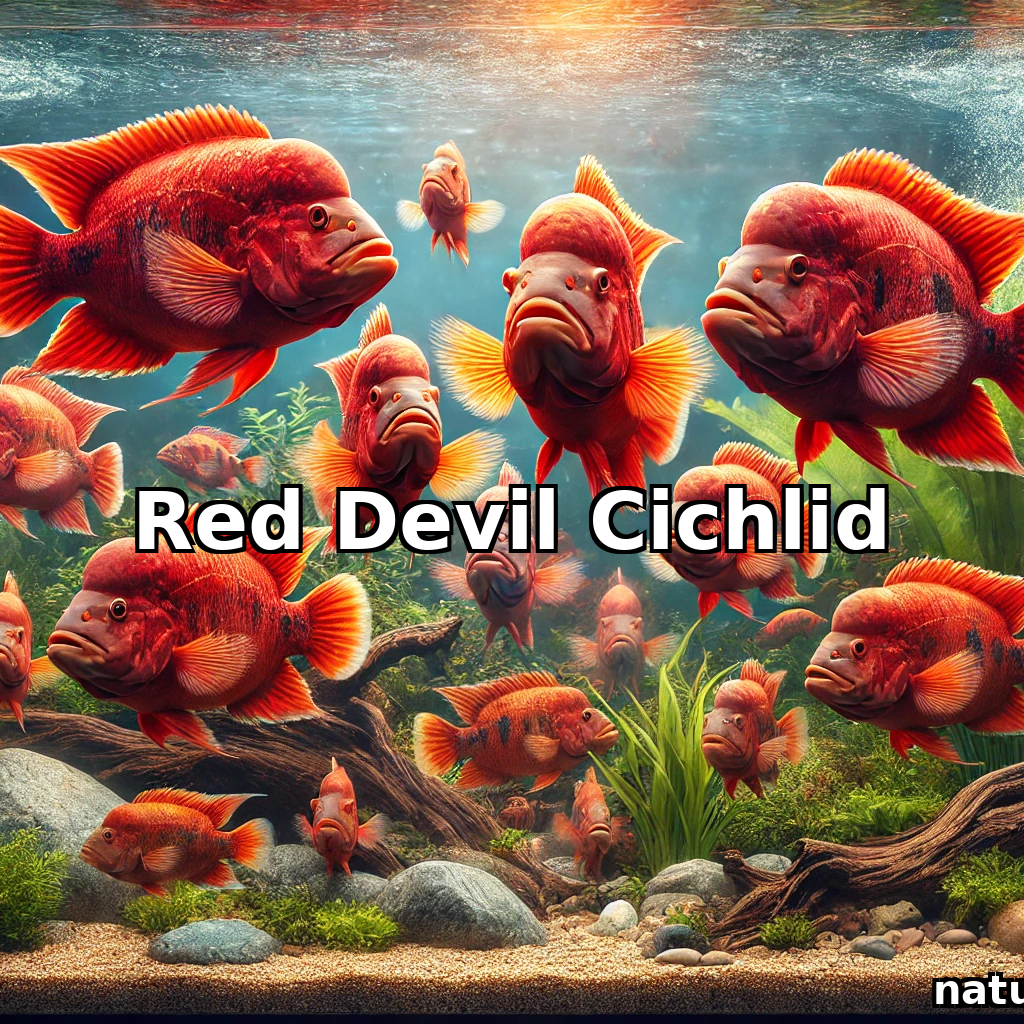
4. Red Devil

  • Tank Requirements: Spacious tank or pond for larger specimens.

True to its name, the Red Devil is a fiery and aggressive cichlid with vibrant orange and white hues. Males develop distinctive humps on their heads as they mature. While this fish isn’t as popular as it once was, it remains a robust and captivating option for experienced hobbyists.


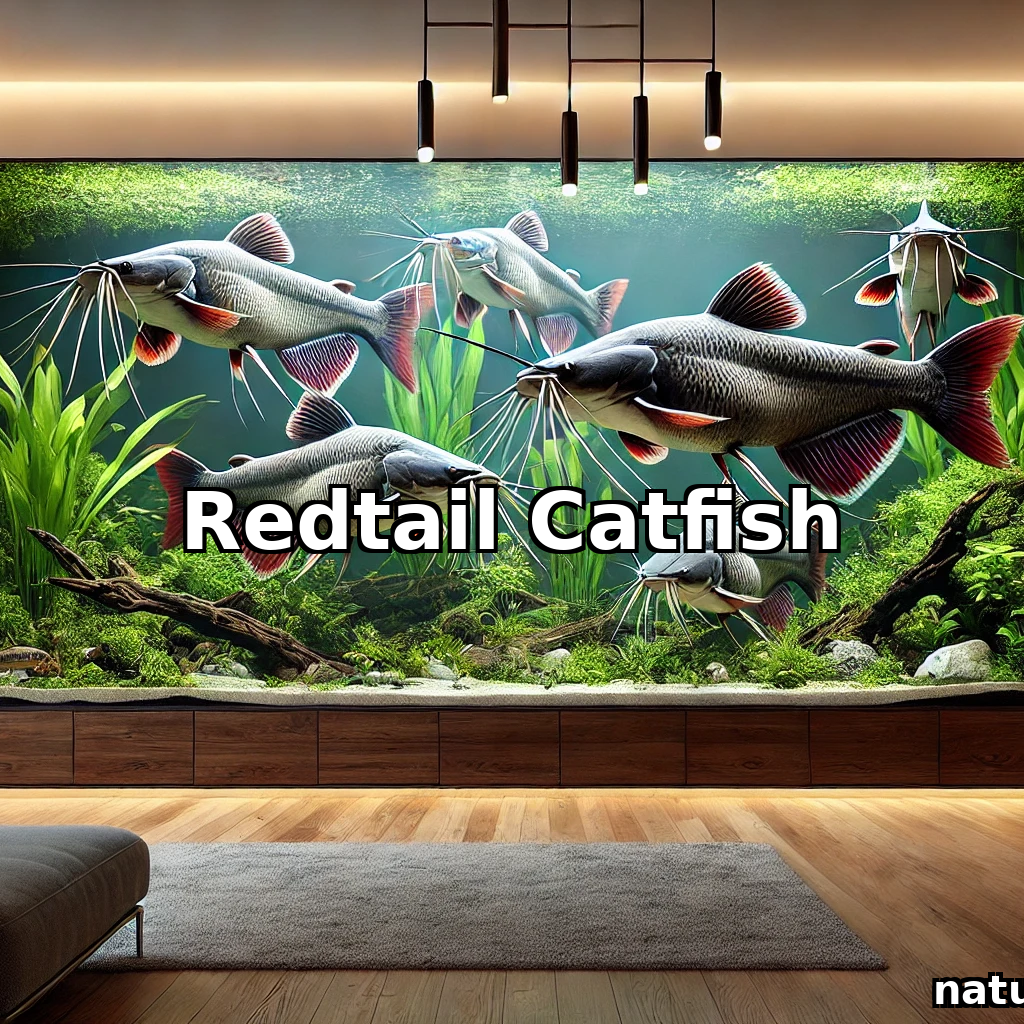
5. Redtail Catfish

  • Tank Requirements: A large pond or tank for optimal growth (up to 4.5 feet in ponds).

This monster catfish is a staple for those seeking an affordable yet impressive aquarium addition. Redtail Catfish can grow significantly large and require a sturdy filtration system to maintain water quality. They thrive best in spacious environments, so consider setting up a pond for this species.


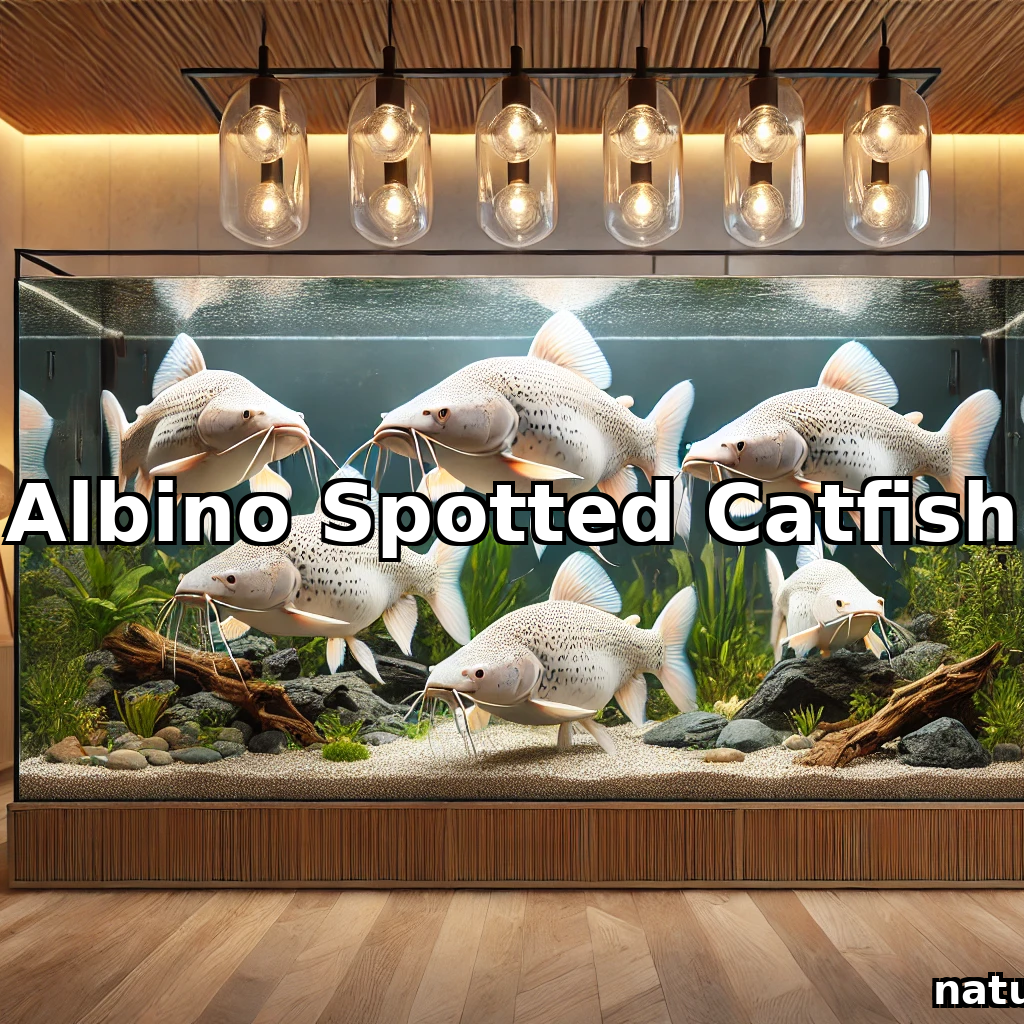
6. Albino Spotted Catfish

  • Tank Requirements: Strong filtration to manage water quality.

If you’re looking for an affordable, fast-growing monster fish, the Albino Spotted Catfish is a great pick. It can reach up to 2 feet in length and has a unique appearance. However, be mindful of its rapid water-draining tendencies and ensure your tank setup can accommodate its needs.


Final Thoughts

When adding monster fishes to your aquarium, always consider their future size and care requirements. Ensure you have adequate tank space, filtration, and diet plans before making a purchase. These six affordable options are perfect for beginners and seasoned hobbyists alike.

Happy fish-keeping! Don’t forget to share your aquarium adventures in the comments.


How to calculate Substrate mixture weight / volume for natural fish tank

In this blog we will cover the substrate measurement for your new Natural Fish Tank. Using this simple tool, you can quickly find the sand and soil volume you need to get your ever lasting natural fish tank started.

Fish Tank Substrate Volume Calculator

Soil 1 liter = 900 grams

Sand 1 liter (Dry and loosely packed) = 1.3 KG


Calculation for 1 Inch Soil layer and 2 inch sand layer:

Volume Needed:

Soil Volume:

Sand Volume:

Weight Needed:

Soil Weight:

Sand Weight:

How to Set Up a Natural Fish Tank: A Complete Guide

Hello everyone!

I frequently receive numerous comments on my videos asking, “How did you set up this natural fish tank? What substrate did you use?” Today, I’m addressing all those questions with a detailed guide to setting up a natural fish tank. The primary advantage of this setup? There’s no need for frequent water changes or weekly cleaning. This setup mimics nature, allowing you to enjoy the tank from your home with minimal maintenance.


Why a Natural Fish Tank?

This natural approach allows the ecosystem to sustain itself. The water remains clean without constant intervention. Inspired by the “Father Fish” method and natural farming philosophies, such as those shared by Nammalvar, this setup ensures harmony between the fish, plants, and substrate.

Years ago, I started with a basic tank—just fish, water, and stones. But after learning about the Father Fish model, I realized its potential to create a balanced, low-maintenance ecosystem. Over time, I adapted it for Tamil audiences, where much of the aquarium content is commercially driven with CO2 systems and fertilizers.


Key Elements of a Natural Tank Setup

1. Tank Selection

  • Start Small: For beginners, a one-foot or two-foot tank works well. Nano fish thrive in smaller tanks.
  • Larger Tanks: If you’re more experienced, opt for three or four feet tanks for more creative layouts and biodiversity.
  • Glass Tanks: Most setups are done in glass tanks, but you can also experiment with containers like water cans or jars for Betta fish.

2. Substrate – The Foundation

  • Layer 1: Soil Layer Use one inch of nutrient-rich soil or a “dirty substrate.” This layer provides essential nutrients for plants and aids the filtration process. Vermicompost and dry leaves can also be added for extra nutrients.
  • Layer 2: Sand Layer Add a two-inch layer of washed sand over the soil. This prevents the soil from leaching into the water and creates a clean, aesthetic look.

Pro Tip: Measure the required substrate volume by calculating your tank’s length and width. This helps ensure you add the right amount of substrate for optimal results.

3. Plants

Plants are crucial for maintaining water quality. They oxygenate the water and utilize excess nutrients, preventing algae growth.

  • Rooted Plants: These grow directly in the substrate, e.g., Vallisneria, Amazon Sword.
  • Floating Plants: Duckweed, water lettuce, and foxtail provide shade and additional filtration.
  • Dense Planting: Especially in corners, dense planting creates hiding spots for fish fry.

4. Water

  • Hard Water vs. RO Water: Both can work. I use well water as it contains minerals beneficial for plants and fish.
  • Pouring Technique: Pour water gently over a cover or hand to avoid disturbing the substrate.

5. Filtration

A sponge filter is highly recommended for natural setups. It is affordable, easy to maintain, and provides excellent biological filtration. Avoid surface skimmers that disturb floating plants and reduce food availability for fish.

6. Lighting

Lighting is essential for plant growth and enhances the tank’s aesthetic appeal.

  • Use lights with a 6500K color temperature.
  • Ensure the lighting covers the tank’s entire length for even plant growth.

The Layout – Aesthetic and Functional Design

  • Centerpiece: Add driftwood or stones as a focal point in the center.
  • Open Space: Leave the middle section clear for fish to swim freely.
  • Dense Corners: Add thick plants in one corner as a “fry zone” for fish fry to hide and grow.
  • Hiding Spots: Include small caves or pots to create safe spaces for shy fish or shrimps.

Benefits of the Natural Fish Tank Setup

  • Low Maintenance: Once established, the substrate can last for years without replacement.
  • Eco-Friendly: No chemical fertilizers or CO2 systems are needed.
  • Healthy Ecosystem: Beneficial bacteria in the substrate maintain the nitrogen cycle, reducing ammonia and nitrite levels.
  • Cost-Effective: Using locally available materials like soil, sand, and natural light saves money.

Final Words

This natural tank setup is not just about keeping fish—it’s about creating a sustainable ecosystem. It takes time, patience, and dedication, but the result is rewarding. Watching fish thrive in a balanced environment is a joy that every aquarist should experience.

This channel’s purpose is to inspire you to try this method, think creatively, and embrace the natural way of fishkeeping. If you find this guide helpful, feel free to explore more videos on the channel for additional insights and tips.

Happy fishkeeping! 🐠